
Hardening Off Seedlings Checklist: From Indoor Tray to Garden Bed
Updated
Figures checked against their sources on ; next check .
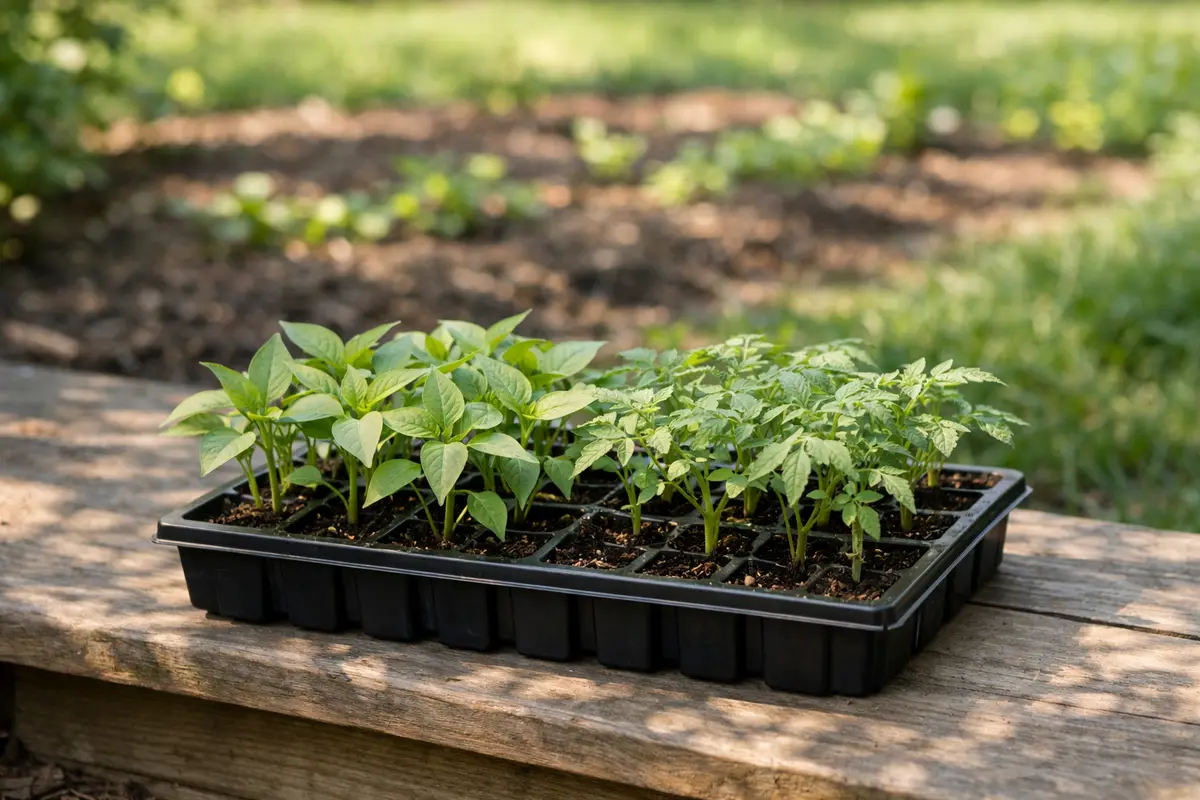
Hardening off seedlings checklist
Work down this list from the last weeks indoors to the day the plants go into the ground. Your checkmarks stay in this browser; nothing is sent anywhere.
0 of 19 done
Before the move: give crowded seedlings room
Skip this section if the seedlings are still comfortable in their cells.
Larger peat pots or plastic cups with holes punched in the bottom work well.
Source: University of Minnesota Extension, Starting seeds indoors (page reviewed 2026)
A stem can be crushed, and so can the growing tip.
Source: University of Minnesota Extension, Starting seeds indoors (page reviewed 2026)
A seedling that loses a leaf can grow another. One that loses its main growing point may not survive.
Source: University of Minnesota Extension, Starting seeds indoors (page reviewed 2026)
Larger seedlings in larger containers need more space and often another set of lights.
Source: University of Minnesota Extension, Starting seeds indoors (page reviewed 2026)
Set the schedule
UMN says to move seedlings outside 2 weeks before planting outdoors. Its planting table gives the last step as 1 to 2 weeks.
Source: University of Minnesota Extension, Starting seeds indoors (page reviewed 2026)
Seedlings raised indoors have not met any of them. Unprepared leaves can be scorched by sun or wind, and the plants may wilt and die.
Source: University of Minnesota Extension, Starting seeds indoors (page reviewed 2026)
UMN lets hardened seedlings stay out at the end of the period unless freezing temperatures are forecast.
Source: University of Minnesota Extension, Starting seeds indoors (page reviewed 2026)
The first outdoor days
The change is gradual on purpose. There is no jump from shade to full sun.
Source: University of Minnesota Extension, Starting seeds indoors (page reviewed 2026)
If you use a coldframe instead
A coldframe is a temporary mini-greenhouse, bought or built, and UMN calls it an easy way to harden off plants.
The point is to accustom the plants to wind and cold.
Source: University of Minnesota Extension, Starting seeds indoors (page reviewed 2026)
At the end of the period
If a freeze is forecast, bring them in.
Source: University of Minnesota Extension, Starting seeds indoors (page reviewed 2026)
Planting day
Hardened-off plants may wilt when first exposed to full sun, but they generally recover within a day or so.
Source: University of Minnesota Extension, Starting seeds indoors (page reviewed 2026)
They reduce damage from wind and temperature swings and help plants get off to a good start.
Source: University of Minnesota Extension, Starting seeds indoors (page reviewed 2026)
A collar above the soil can wick water away from the roots.
Source: University of Minnesota Extension, Starting seeds indoors (page reviewed 2026)
This helps the roots spread into the garden soil.
Source: University of Minnesota Extension, Starting seeds indoors (page reviewed 2026)
Sources (1)
In short: Start outdoors for a few shaded hours in the afternoon and add time and sun each day for the full hardening-off period. Bring plants in before nights turn cold, then plant on a cloudy day or late afternoon.
What hardening off is for
Seedlings raised indoors have never met full sun, wind or a temperature that swings between day and night. University of Minnesota Extension warns that without gradual exposure to the outdoors, a process called hardening off, their leaves can be scorched by sun or wind and the plants may wilt and die. This checklist covers that process from the last days indoors to planting day. Potting up comes first, because crowded seedlings need room before the move.
Your checkmarks are saved in this browser only. The print button gives you a clean copy for the porch, and the copy button turns it into plain text for your phone.
The schedule in one place
The source tells you to start 2 weeks before planting outdoors. Its planting table closes with a row that says to harden off all plants and gives that step 1 to 2 weeks. The text and the table differ a little, so give yourself the longer figure when you can and count back from your planting day.
On the first day, put the seedlings outside for a few hours in the shade, during the warmth of the afternoon, and out of the wind. Bring them in before the temperature starts to drop at night. Each day after that, leave them out a little longer and give them a little more direct sun. When the period ends, the plants can stay outside in a sunny spot until planting day, as long as no freezing temperatures are forecast.
The coldframe option
A coldframe, a small temporary greenhouse, is an easy way to do the same job. Instead of carrying trays in and out, you adjust the lid to keep out the freeze and vent it a little farther each day so the plants get used to wind and cold. You can buy a coldframe or build a simple one.
Potting up
Seedlings that outgrow their cell packs move into containers 1 to 2 inches wider across than the cells. Peat pots and plastic cups with holes punched in the bottom both work. Lift each plant by its rootball and never by its stem. The source's reason is blunt: a stem can be crushed, and a seedling that loses its main growing point may not survive, while one that loses a single leaf can grow another. Bigger plants in bigger pots need more room under the lights, often a second set.
Worked example: a tray of tomato seedlings
Say your tomatoes have been under lights and are ready to go out. You choose the Saturday you will plant, and count back from it to the first day of the hardening-off period. On the first day the tray spends a few hours in afternoon shade, out of the wind, and comes back into the house in the evening. Each of the following days the tray stays out longer, and sits in a bit more sun, and on the day the period ends it stays out in a sunny place, since no freeze is forecast. On the Saturday you plant late in the afternoon, when the sun has passed its peak. The plants flop for a day in the first strong light and then stand up, which is what the source says to expect.
If the tomatoes were in peat pots, you trim the pot collars down to soil level and tear open the bottoms before planting, so the pots do not pull water away from the roots.
After planting
Keep row covers or plant protectors within reach. The source says they help plants get off to a good start by cutting wind damage and swings in temperature. When the plants are in the ground, the plant spacing chart tells you how far apart they go, the seed starting schedule tells you when the next tray should go in, and if the seedlings have stretched on their way here, the leggy seedlings fix explains why.